Microsoft recently released a preview mobile app for Asset Management. The App gives 2 personas that you can use it for:
- Maintenance worker - You need to be assigned to the security role "Maintenance worker" https://learn.microsoft.com/en-us/dynamics365/supply-chain/asset-management/asset-management-mobile-app/work-orders. It will allow you to give feedback on a work order such updating actual hours, items, checklists and attachments.
- Maintenance requester - You just need a teams license and can assign "Maintenance requester" security role https://learn.microsoft.com/en-us/dynamics365/supply-chain/asset-management/asset-management-mobile-app/maintenance-requests. This will allow you to create a request.
Installation
To install, go to AppSource to find the app Dynamics 365 Asset Management Mobile Application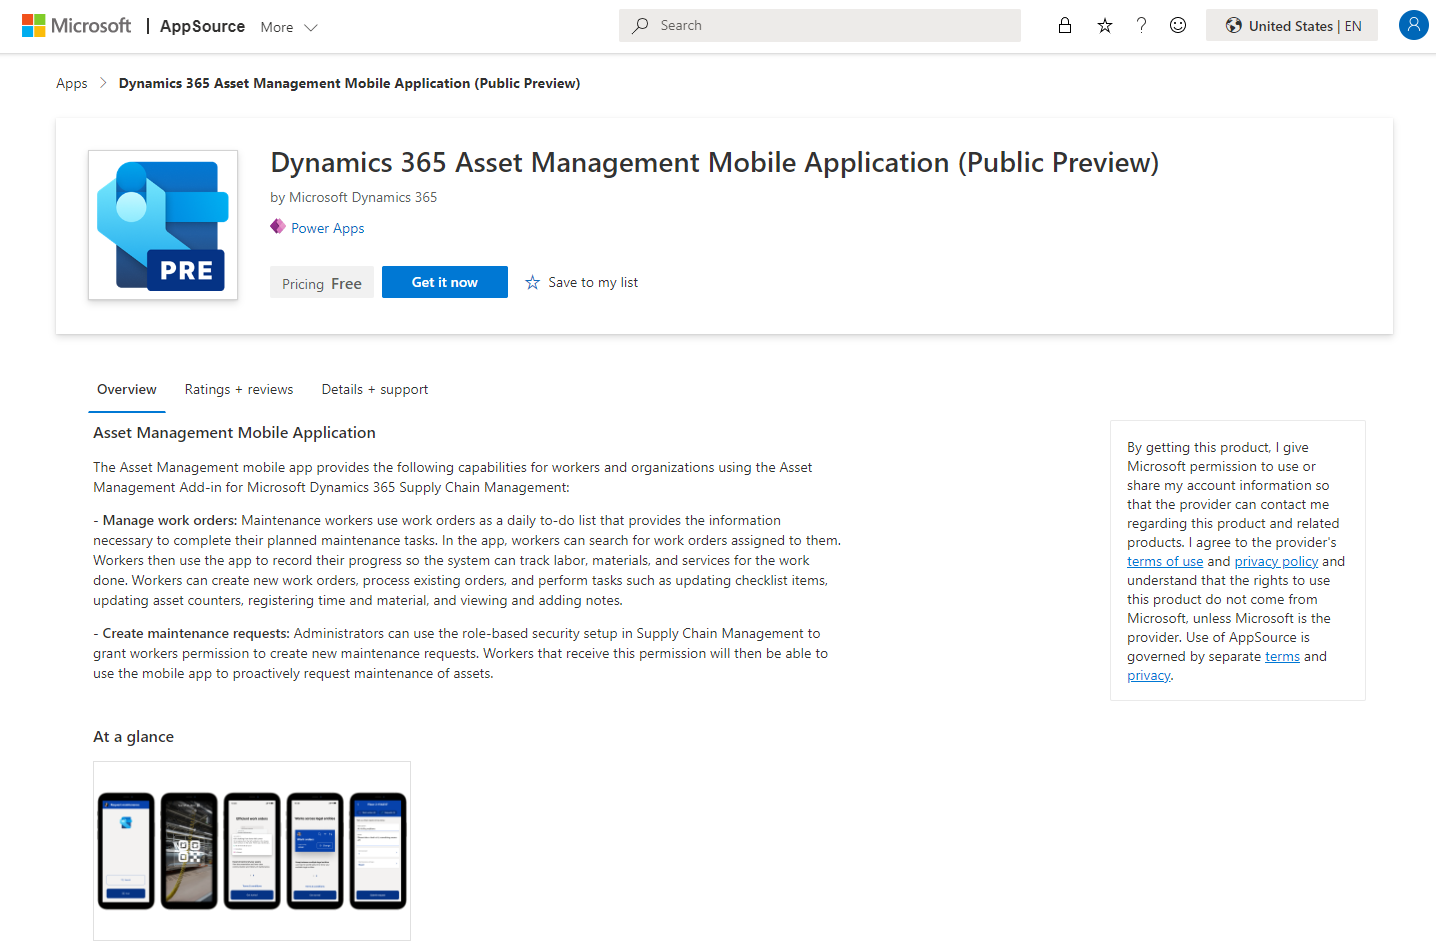
Read the Onboarding doc page as there are prerequisites. Such as installing the Finance and Operations Virtual Entity solution.
The install is pretty easy to follow. Accept the terms and click Install.
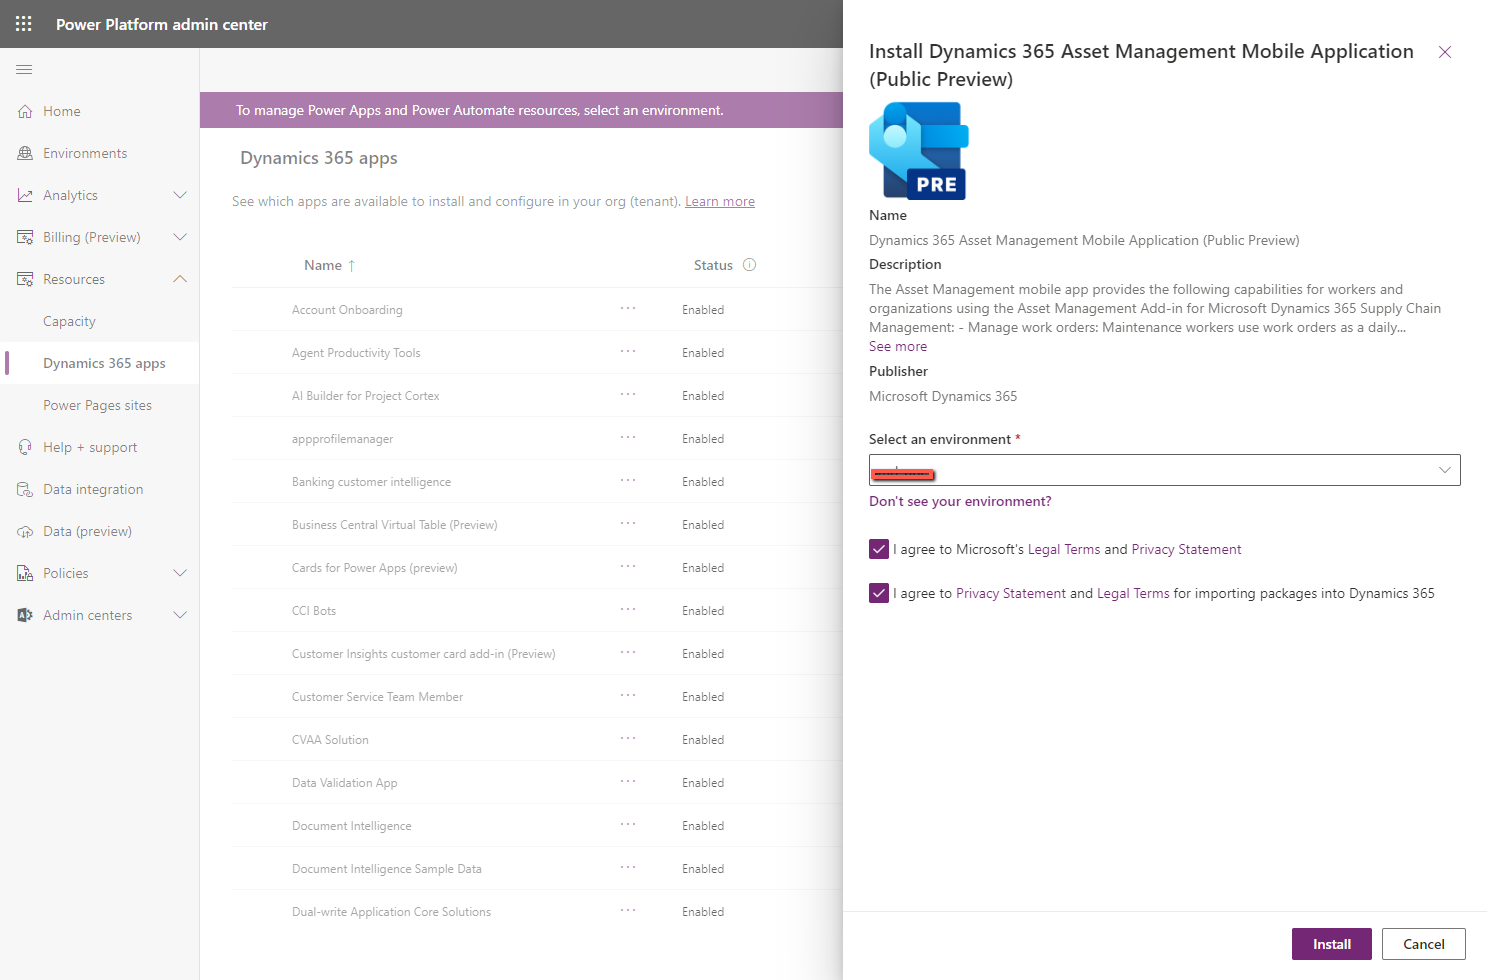


A Canvas App will be installed and the virtual entities will be enabled in the background. Go and open the Canvas App.
You might get stuck on this screen at this initial preview release. It is a known issue and documented here. You just need to edit the canvas app and publish it.
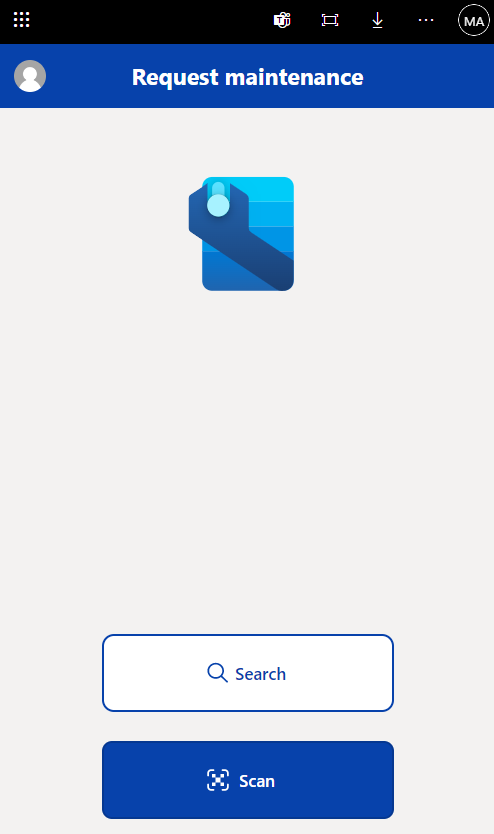
Maintenance Requester
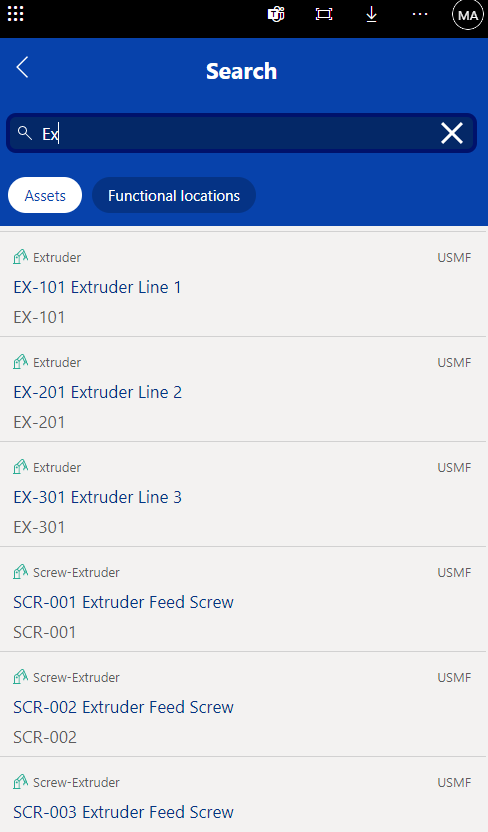
With the Maintenance Requester role, you will see the following screen. You can find your asset by searching or scanning. It looks like it will search on Asset Id and the Asset Type Id fields.
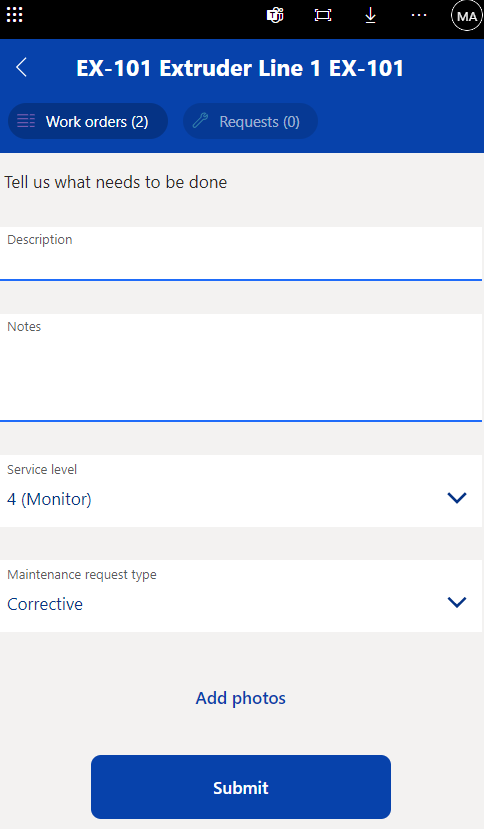
This is the create screen to enter a description and some notes.
Before you click, you can see the active work orders related to the asset.
Manage Work Orders
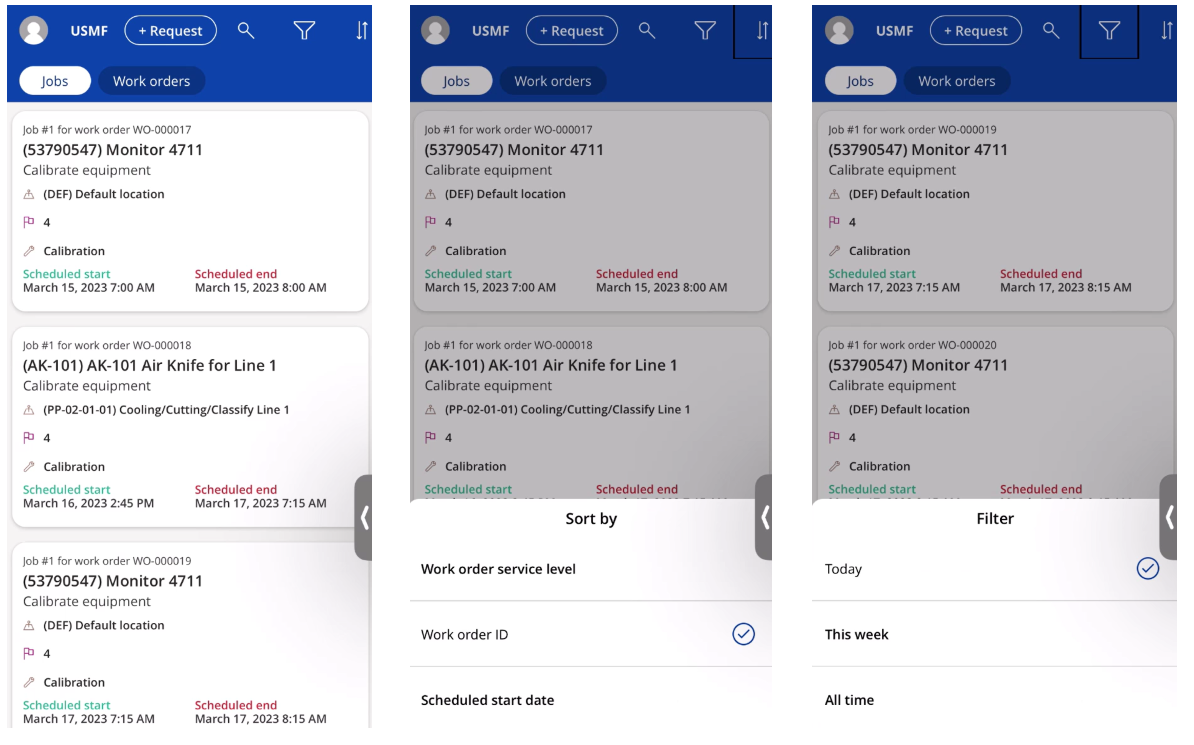
The functionality available (as per preview release in 24 March 2023) is to give feedback on a work order.
The list shows work orders and jobs that are assigned to you only.
Search will work on the Work order id, Asset Id, Functional location Id.
Filtering is available by Today, This week and All.
Sorting is available by Work order id, Service level and Start date.
A work order has to be scheduled to you for it to appear. I had to dig into the canvas app code to see the filtering applied. Because initially I couldn't see anything.
Overall, it looks really good. I will keep exploring.